TV Extension Unit Project
Welcome to the TV Extension Device project page! This device is designed to optimize bedroom entertainment by seamlessly extending a TV from a cupboard and positioning it perfectly for viewing from the bed. Explore the sections below to learn about the mechanical design, electronics, and software that bring this project to life.
Please select the section you want to explore or scroll down.
Mechanics Section
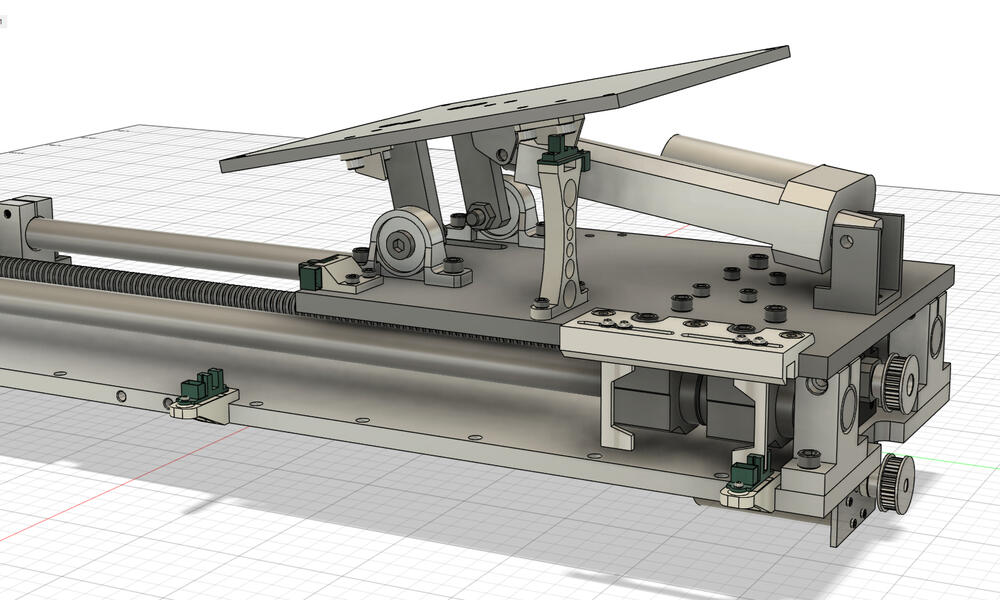
The TV Extension Device incorporates a robust mechanical design, ensuring reliability and smooth operation. Key features include:
Sliding Doors: Powered by stepper motors for precise movement.
Linear Drive: Extends the TV safely and efficiently.
Tilt Mechanism: Adjustable tilt for optimal viewing angles.
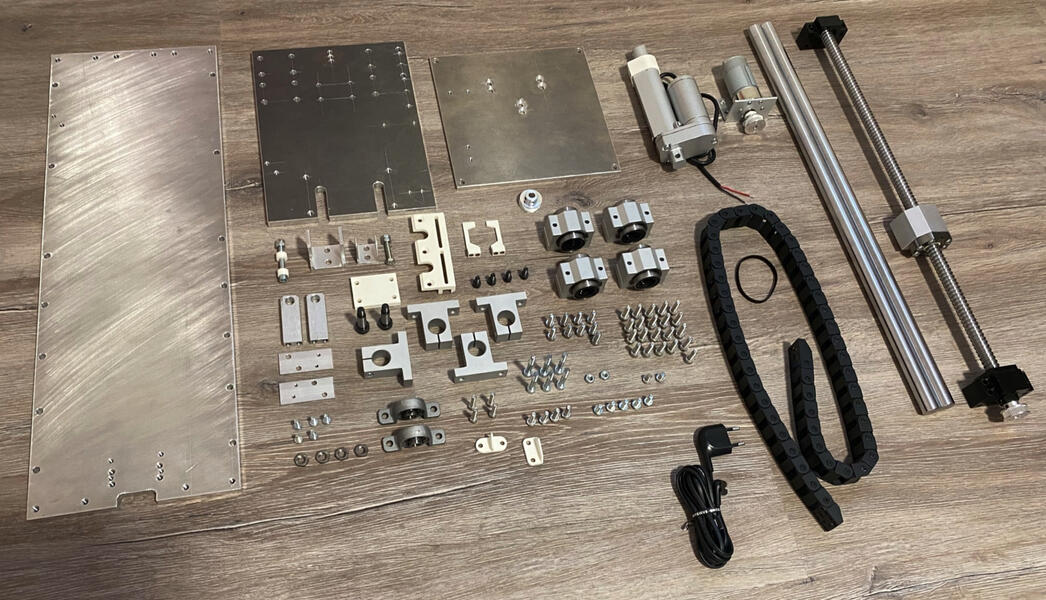
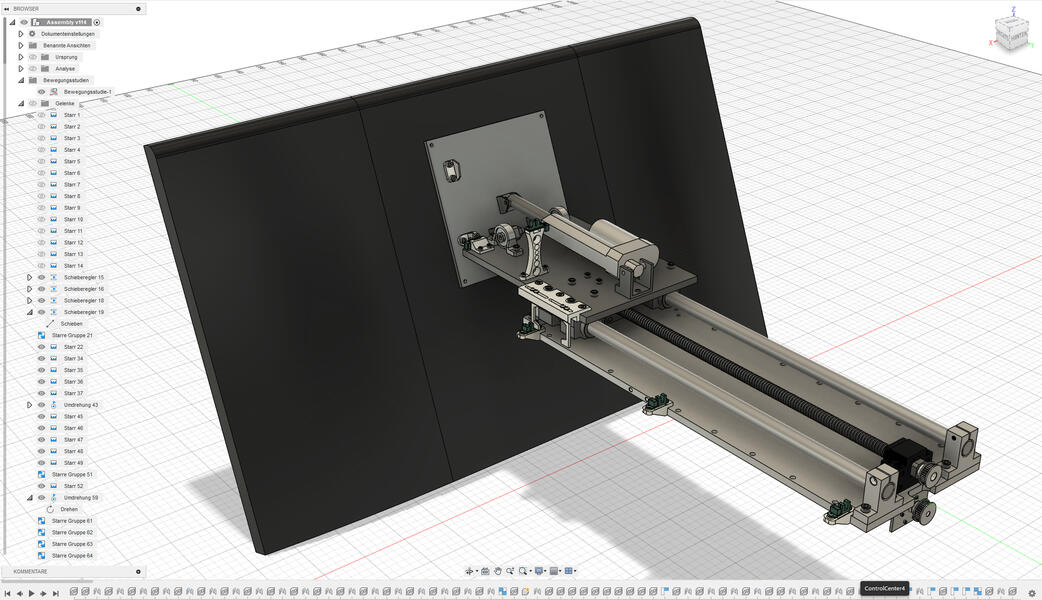
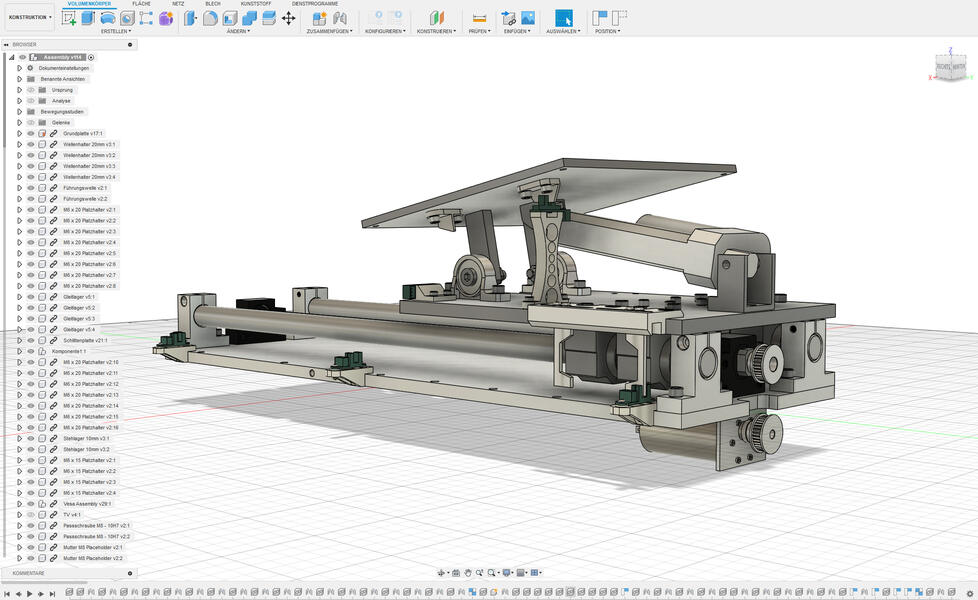
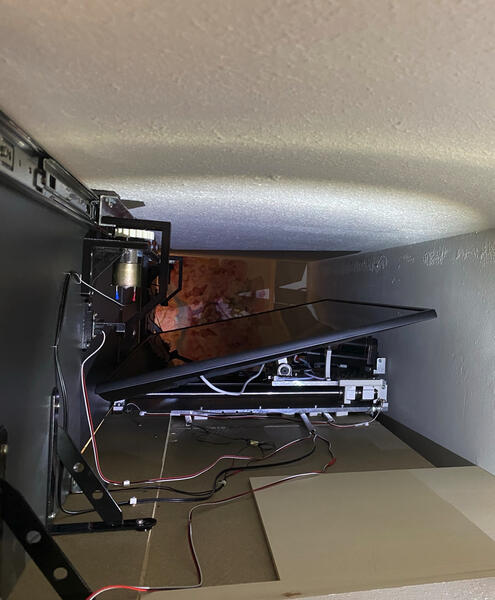
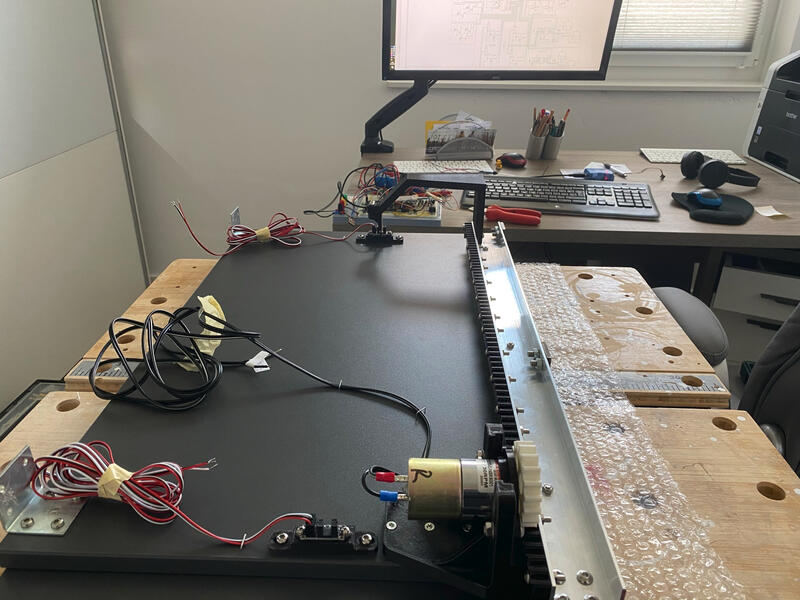
The heart of the TV Extension Device lies in its precise and innovative mechanical design. This gallery takes you through the journey from the initial Fusion 360 CAD designs, which laid the foundation, to the real-world construction and assembly of the device mounted onto the cupboard. You'll also see the intricate individual components that make up this seamless system, showcasing how engineering and creativity come together in perfect harmony.
Bringing It All Together
Watch as the individual components of the TV Extension Device come to life in this step-by-step assembly video. From the first piece to the final structure, this process highlights the precision and care that went into building a seamless and functional unit.
Hardware Section
The hardware for the TV Extension Device is a carefully designed system that seamlessly integrates with the mechanical components to deliver smooth and reliable operation. At its core is a custom PCB powered by an Atmega328 microcontroller, which coordinates all device functions. The electronics include circuitry to manage motors, sensors, and the tilt mechanism, ensuring precise and synchronized performance. With robust power management, the hardware drives the motors and other components safely and efficiently, forming the backbone of this innovative project.
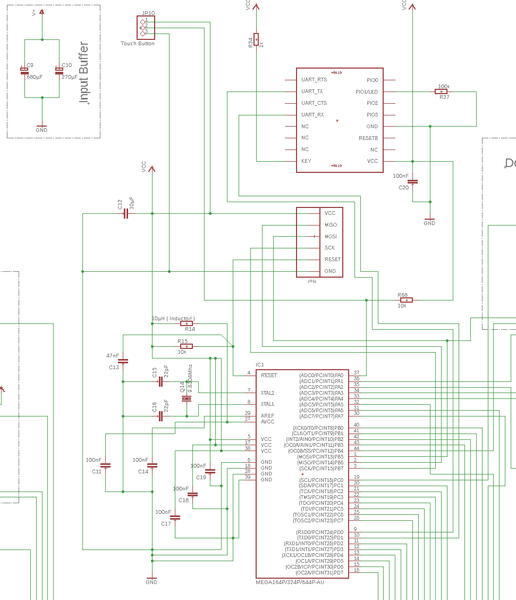
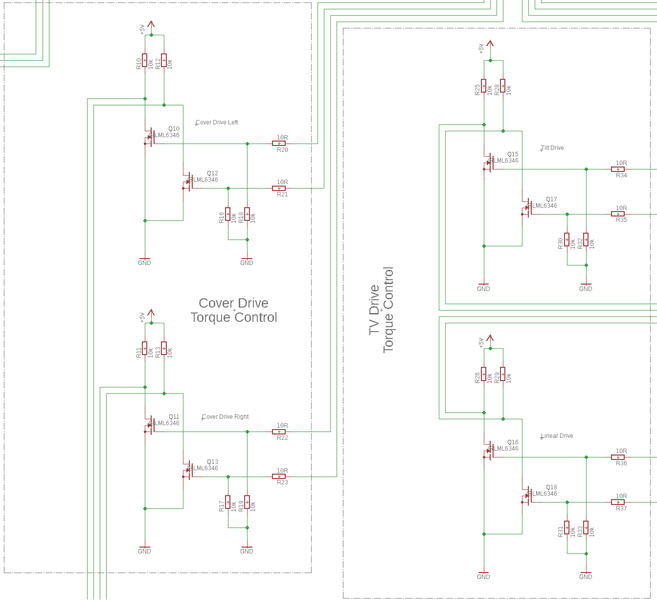
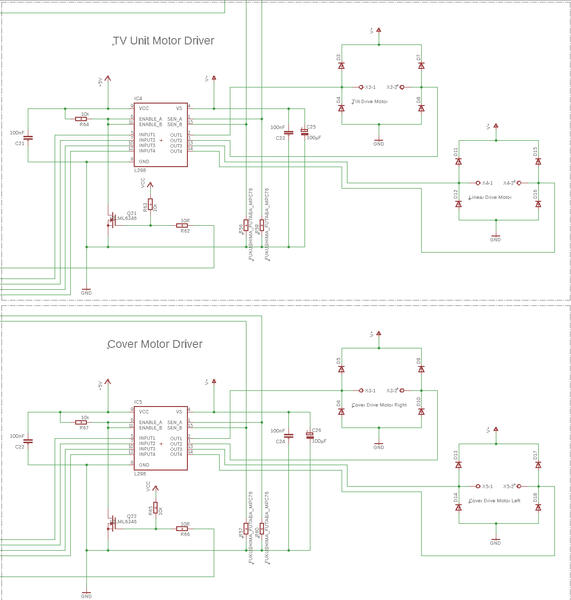
This comprehensive schematic provides a full view of the TV Extension Device's electronics. It encompasses the power generation circuit, input buffer, and filter, alongside dedicated drivers for the tilt, linear, and door drives. The design also integrates a Bluetooth chip for wireless communication and endpoint sensors to ensure precise control and safety for each drive mechanism. This schematic highlights the intricate interplay between the components that power the device's seamless functionality.
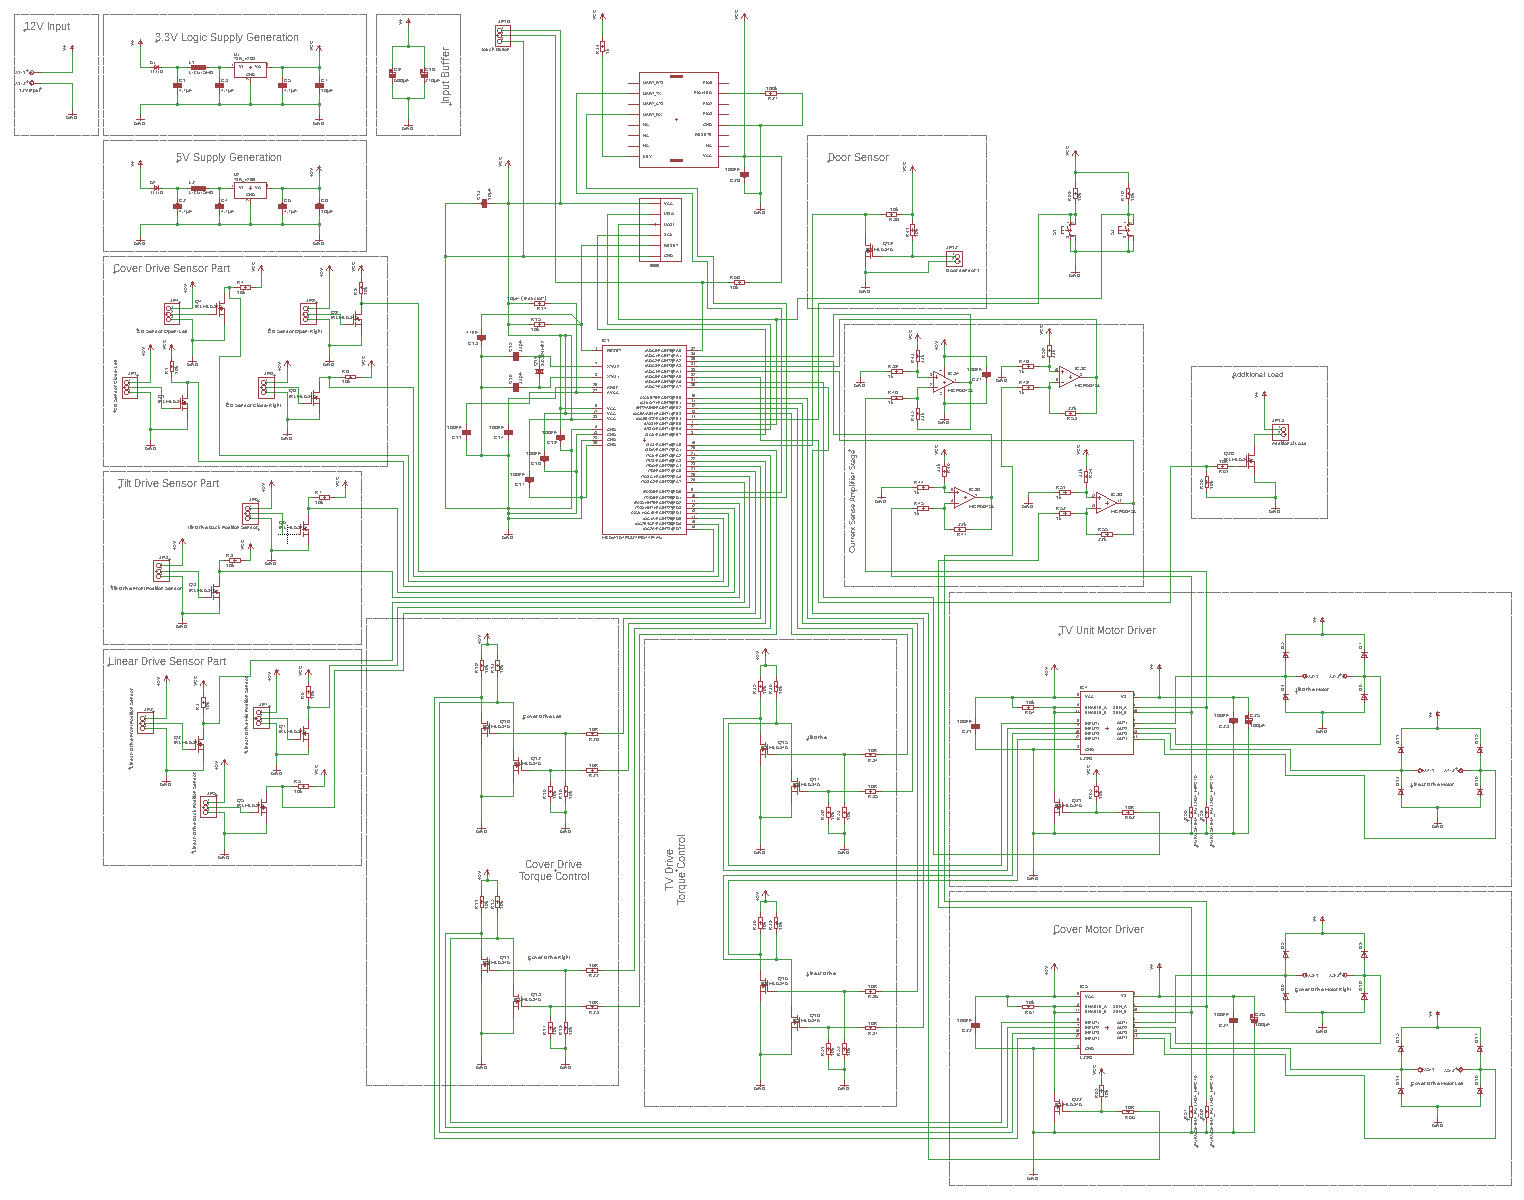
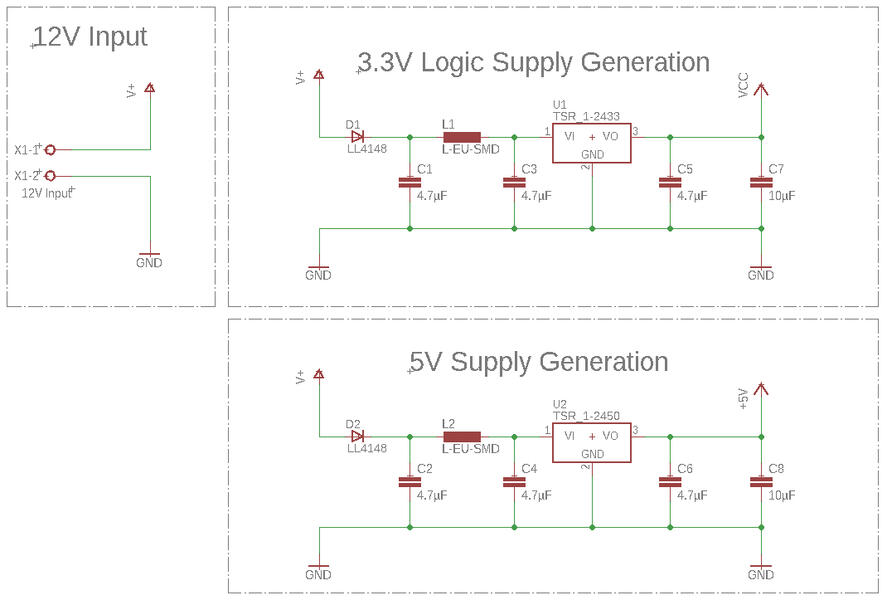
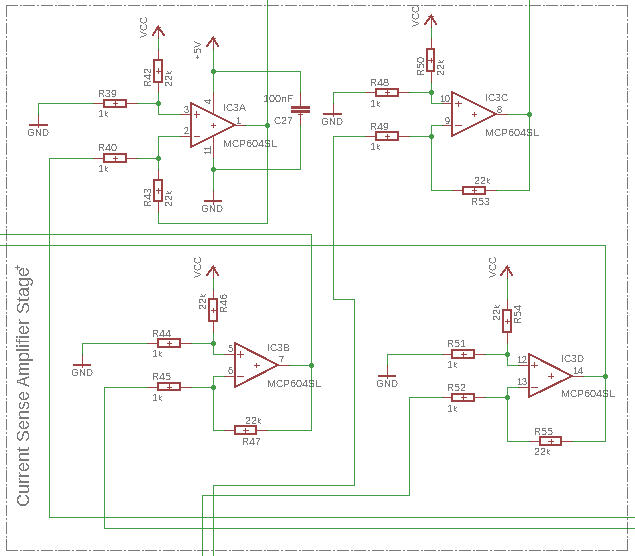
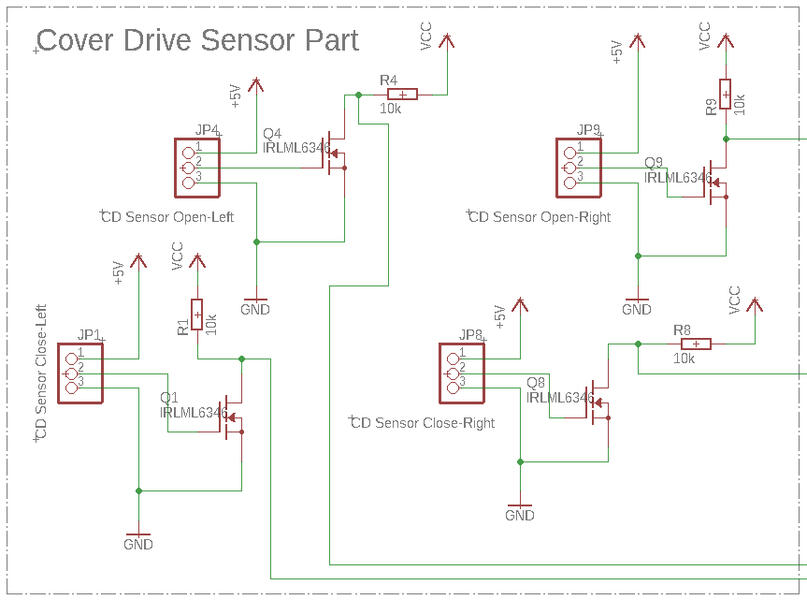
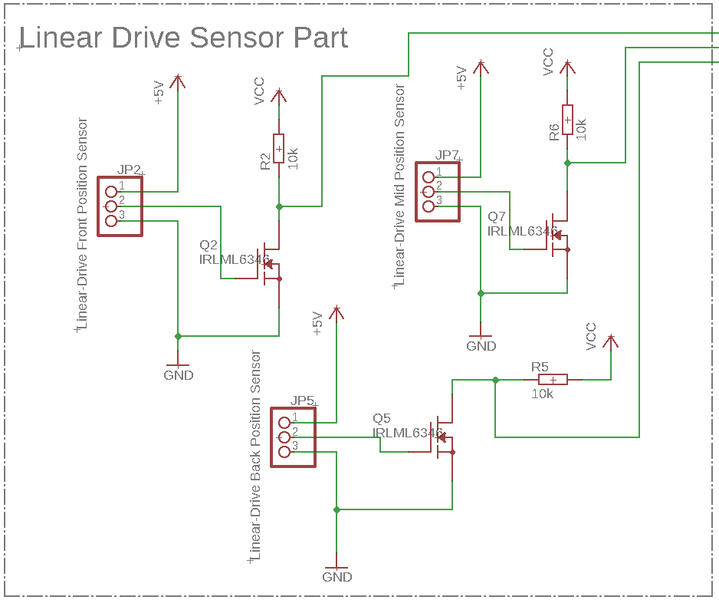
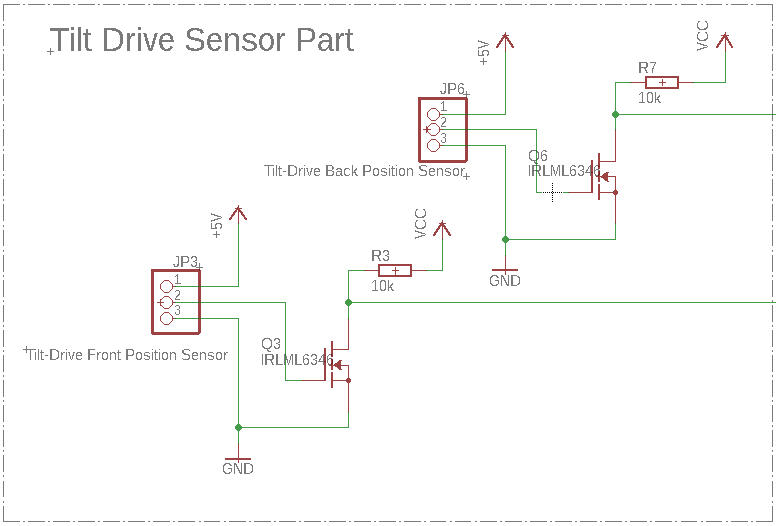
This gallery offers a closer look at the individual sections of the schematic, showcasing the critical components that drive the TV Extension Device. From the power generation circuit to the drivers for the tilt, linear, and door mechanisms, each image provides a detailed view of the system's inner workings. You'll also find highlights of the input buffer, filters, Bluetooth chip, and endpoint sensors, illustrating how these parts come together to create a cohesive and reliable design. Click on the images to get a closer view.
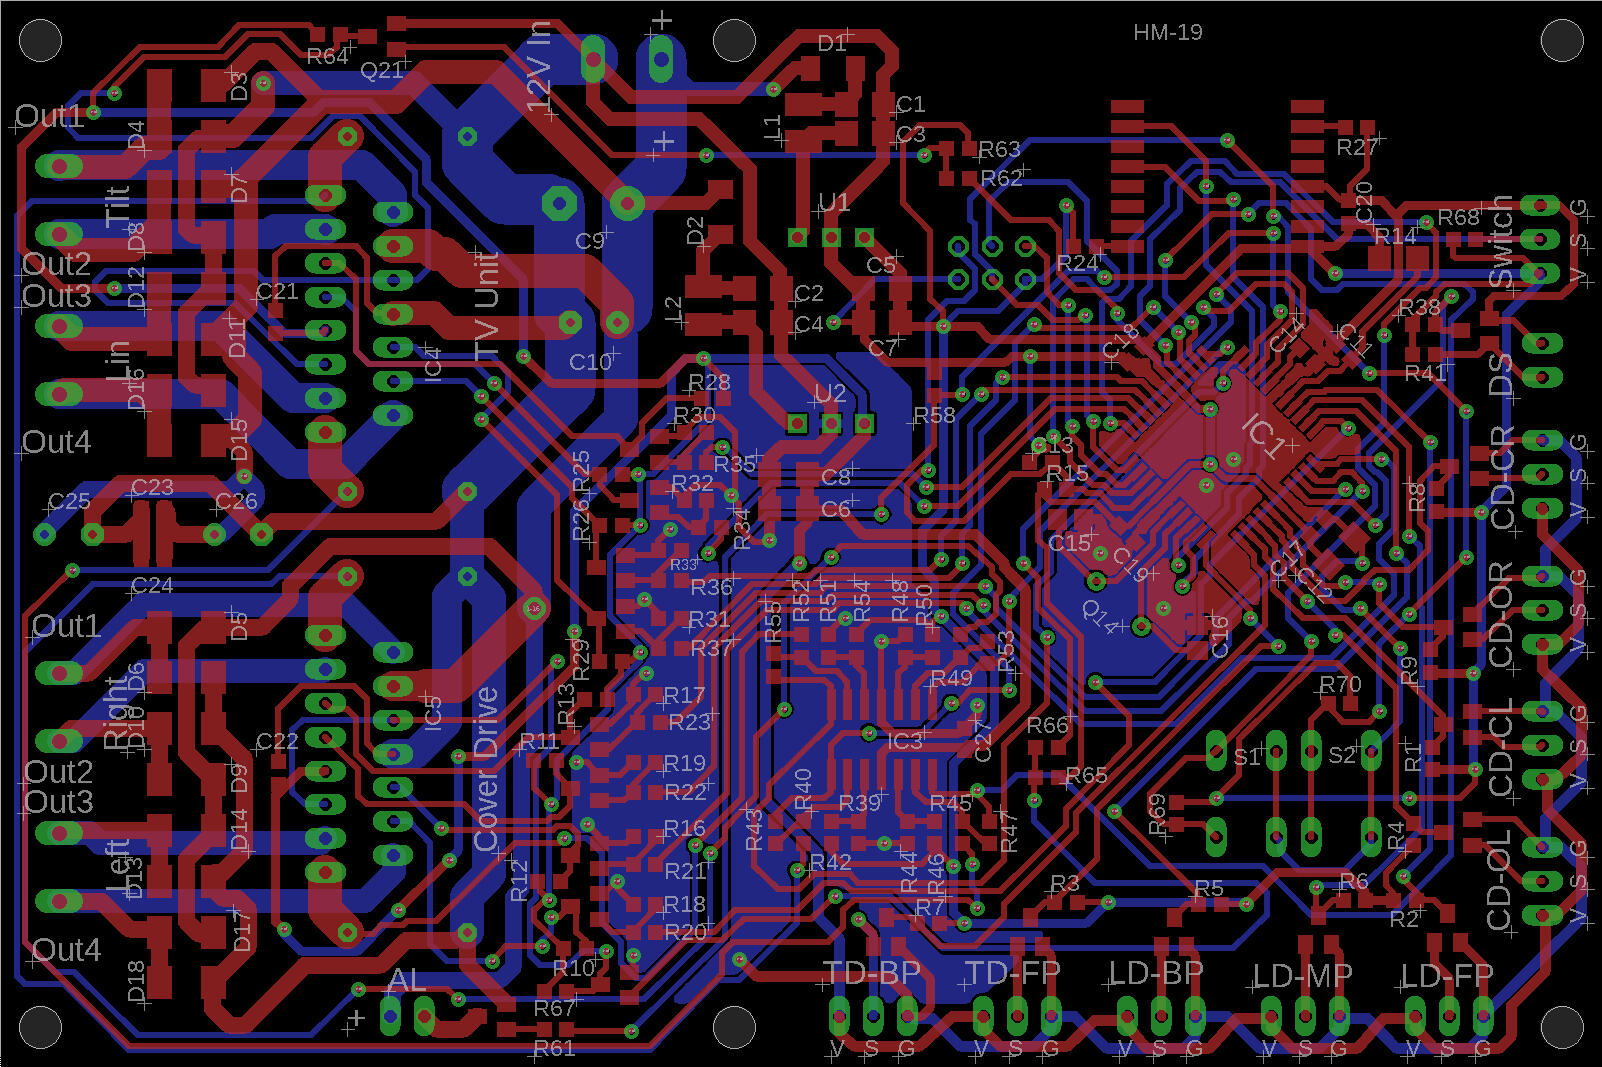
Board Layout Overview
This board layout showcases the compact and efficient design of the TV Extension Device's electronics. It features connectors for the drive sensors, motor controls, and a capacitive touch button for manual operation. Two L298 ICs manage the motor control, including current measurement to detect overload conditions. The layout also incorporates an HM-19 Bluetooth module for wireless functionality and the Atmega328 microcontroller core, which serves as the brain of the system. Every component is strategically placed to ensure optimal performance and reliability.
Software Section
The software driving the TV Extension Device is a meticulously crafted solution written in C and developed using Microchip Studio. It provides precise control over the hardware components, ensuring seamless operation and responsiveness. From motor coordination to sensor integration and Bluetooth communication, the software forms the intelligent core of the device.For a detailed look at the code and implementation, visit the GitHub repository linked below.
